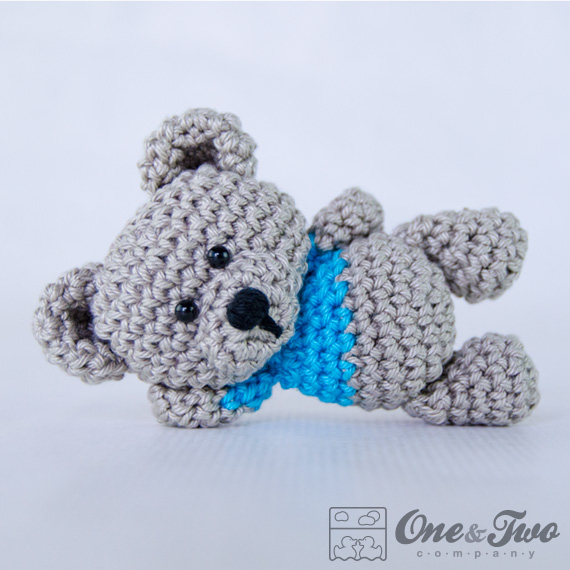
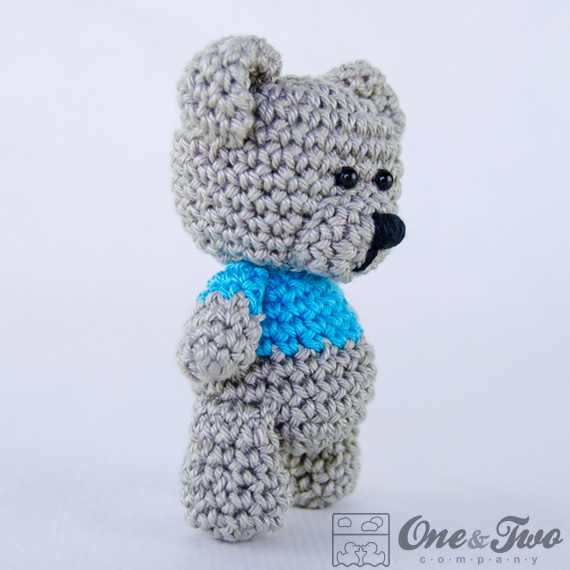
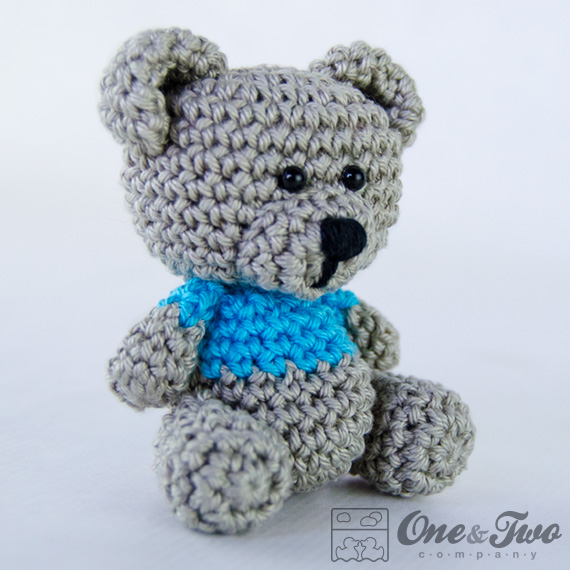
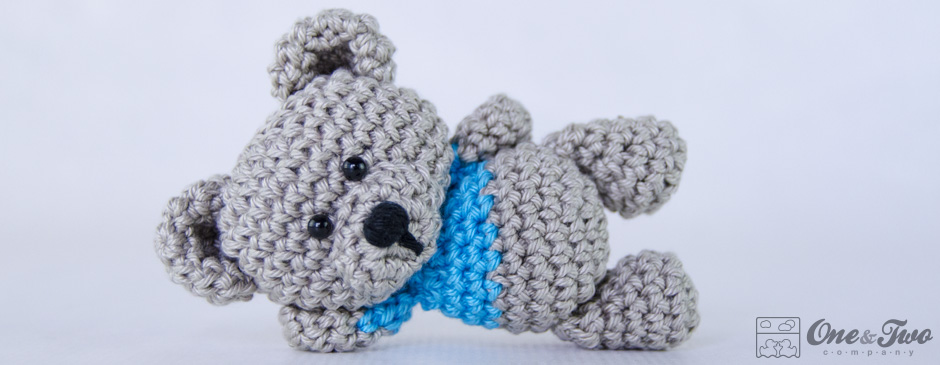
- The height of this amigurumi is 3.9 inches (10cm).
- This amigurumi is made up of the following parts: 1 Head, 2 Ears, 1 Snout, 1 Body, 2 Arms, 2 Legs.
Sam, the Little Teddy Bear - FREE Crochet Pattern
Notes
Materials
- Weight Sport. 3 colors: Grey, Blue and Black.
- E (3.5 mm) crochet hook.
- Cushion Stuffing.
- 2 Amigurumi Safety Eyes.
- Scissors & needle.
Head
Start:
This parts is worked continuously. You should use a stitch marker. With Grey yarn create a Magic Ring with 6 sc.
Round 1:
2 sc in each sc (12 sts).
Round 2:
* 1 sc in next sc, 2 sc in next sc * repeat 5 more times (18 sts).
Round 3:
* 1 sc in next 2 sc, 2 sc in next sc * repeat 5 more times (24 sts).
Round 4:
* 1 sc in next sc, 2 sc in next sc, 1 sc in next 2 sc * repeat 5 more times (30 sts).
Round 5 to 8:
1 sc in each sc (30 sts, 4 rounds in total).
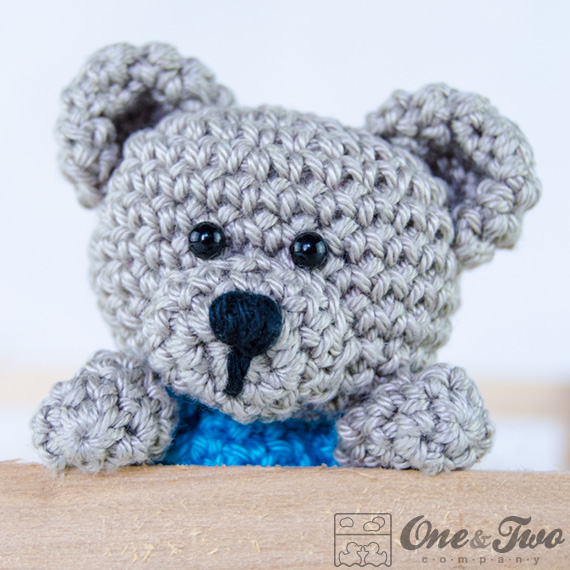
· It’s time to add the eyes. I used amigurumi safety eyes for this pattern. Place them centered, between the round 6 and 7. For your reference the eyes have a distance of 2 sts between them.
Note: If you don’t want use amigurumi safety eyes, you can do the eyes with stitches. With Black yarn make several stitches for each eye. Place them in round 7. For your reference the eyes have a distance of 2 sts between them.
· Now you must do and sew the ears. To learn how to make them, please see the explanation below.
Round 9:
* 1 sc in next 4 sc, sc2tog * repeat 4 more times (25 sts).
Round 10:
1 sc in each sc (25 sts).
Round 11:
* 1 sc in next 3 sc, sc2tog * repeat 4 more times (20 sts).
Round 12:
* 1 sc in next 2 sc, sc2tog * repeat 4 more times (15 sts).
· Now you must do and sew the snout. To learn how to make it, please see the explanation below.
Round 13:
* 1 sc in next sc, sc2tog * repeat 4 more times (10 sts).
Round 14:
* sc2tog * repeat 4 more times (5 sts). Fasten off.
· Note that you must stuff the head before closing completely.
· To close the head, you must pass a yarn between the loops of the stitches of the last round and fasten off.
Ear (x2)
Start:
This parts is worked continuously. You should use a stitch marker. With Grey yarn create a Magic Ring with 6 sc.
Round 1:
2 sc in each sc (12 sts).
Round 2:
* 1 sc in next sc, 2 sc in next sc * repeat 5 more times (18 sts).
Round 3:
1 sc in each sc (18 sts). Fasten off and leave a long tail for sewing that piece later.
· Join the open edges of each ear and sew them, working with the 2 loops of each part.
Snout
Start:
This parts is worked continuously. You should use a stitch marker. With Grey yarn create a Magic Ring with 6 sc.
Round 1:
2 sc in each sc (12 sts).
Round 2:
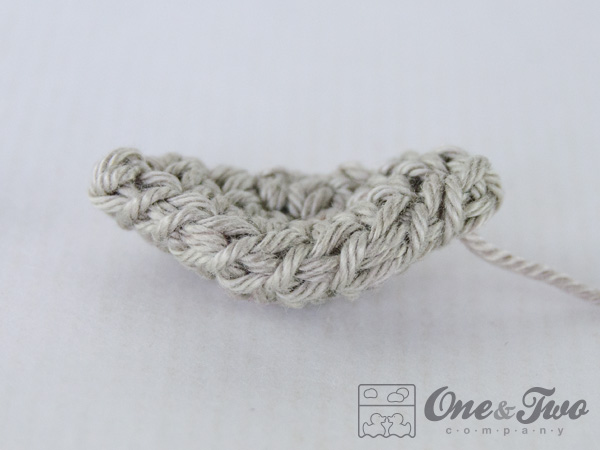
1 sc in each sc (12 sts). Fasten off and leave a long tail for sewing that piece later.
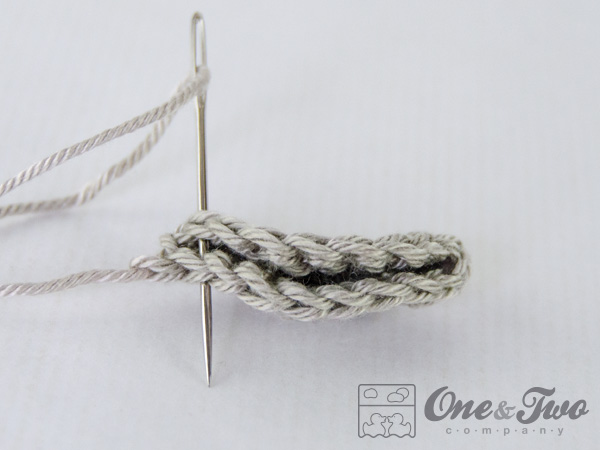
· To make the nose, with Black yarn, make several stitches in the center of the snout, on Round 1. Try shaping triangle. Then make a long stitch down from the bottom of the nose, 2 sts in length. Fasten off.
· Stuff the snout just a little. Then, sew the edge of the snout to the head. Place it centered, between rounds 7 and 11 of the head. Look at the photographs to help you. Fasten off.
Body
· You must stuff the body little by little as you crochet it, making the process easier.
Start:
This parts is worked continuously. You should use a stitch marker. With Grey yarn create a Magic Ring with 6 sc.
Round 1:
2 sc in each sc (12 sts).
Round 2:
* 1 sc in next sc, 2 sc in next sc * repeat 5 more times (18 sts).
Round 3:
* 1 sc in next 2 sc, 2 sc in next sc * repeat 5 more times (24 sts).
Round 4 to 6:
1 sc in each sc (24 sts, 3 rounds in total).
Round 7:
Change to Blue yarn. * 1 sc in next 2 sc, sc2tog * repeat 5 more times (18 sts).
Round 8 to 9:
1 sc in each sc (18 sts, 2 rounds in total).
Round 10:
* 1 sc in next sc, sc2tog * repeat 5 more times (12 sts). Fasten off and leave a long tail for sewing that piece later.
Arm (x2)
Start:
This parts is worked continuously. You should use a stitch marker. With Grey yarn create a Magic Ring with 6 sc.
Round 1:
* 1 sc in next sc, 2 sc in next sc * repeat 2 more times (9 sts).
Round 2 to 3:
1 sc in each sc (9 sts, 2 rounds in total).
Round 4:
Change to Blue yarn. * 1 sc in next sc, sc2tog * repeat 2 more times (6 sts).
Round 5:
1 sc in each sc (6 sts). Fasten off and leave a long tail for sewing that piece later.
· Stuff a little the arms.
· Join the open edges of each arm and sew them, working with the 2 loops of each part.
Leg (x2)
Start:
This parts is worked continuously. You should use a stitch marker. With Grey yarn create a Magic Ring with 6 sc.
Round 1:
2 sc in each sc (12 sts).
Round 2 to 3:
1 sc in each sc (12 sts, 2 rounds in total).
Round 4:
* 1 sc in next sc, sc2tog * repeat 3 more times (8 sts).
Round 5:
1 sc in each sc (8 sts, 2 rounds in total). Fasten off and leave a long tail for sewing that piece later.
· Stuff a little the legs.
· Join the open edges of each leg and sew them, working with the 2 loops of each part.
Finishing the Little Teddy Amigurumi
· Sew the body to the head.
· With Blue yarn, sew the arms on both sides of the body, right and left, at the level of round 10.
· With Grey yarn, sew the legs on both sides of the body, right and left, between the round 4 and 5.
· Fasten off all yarns.
Chart: Sam, the Little Teddy Bear
Each round/row has a different color.
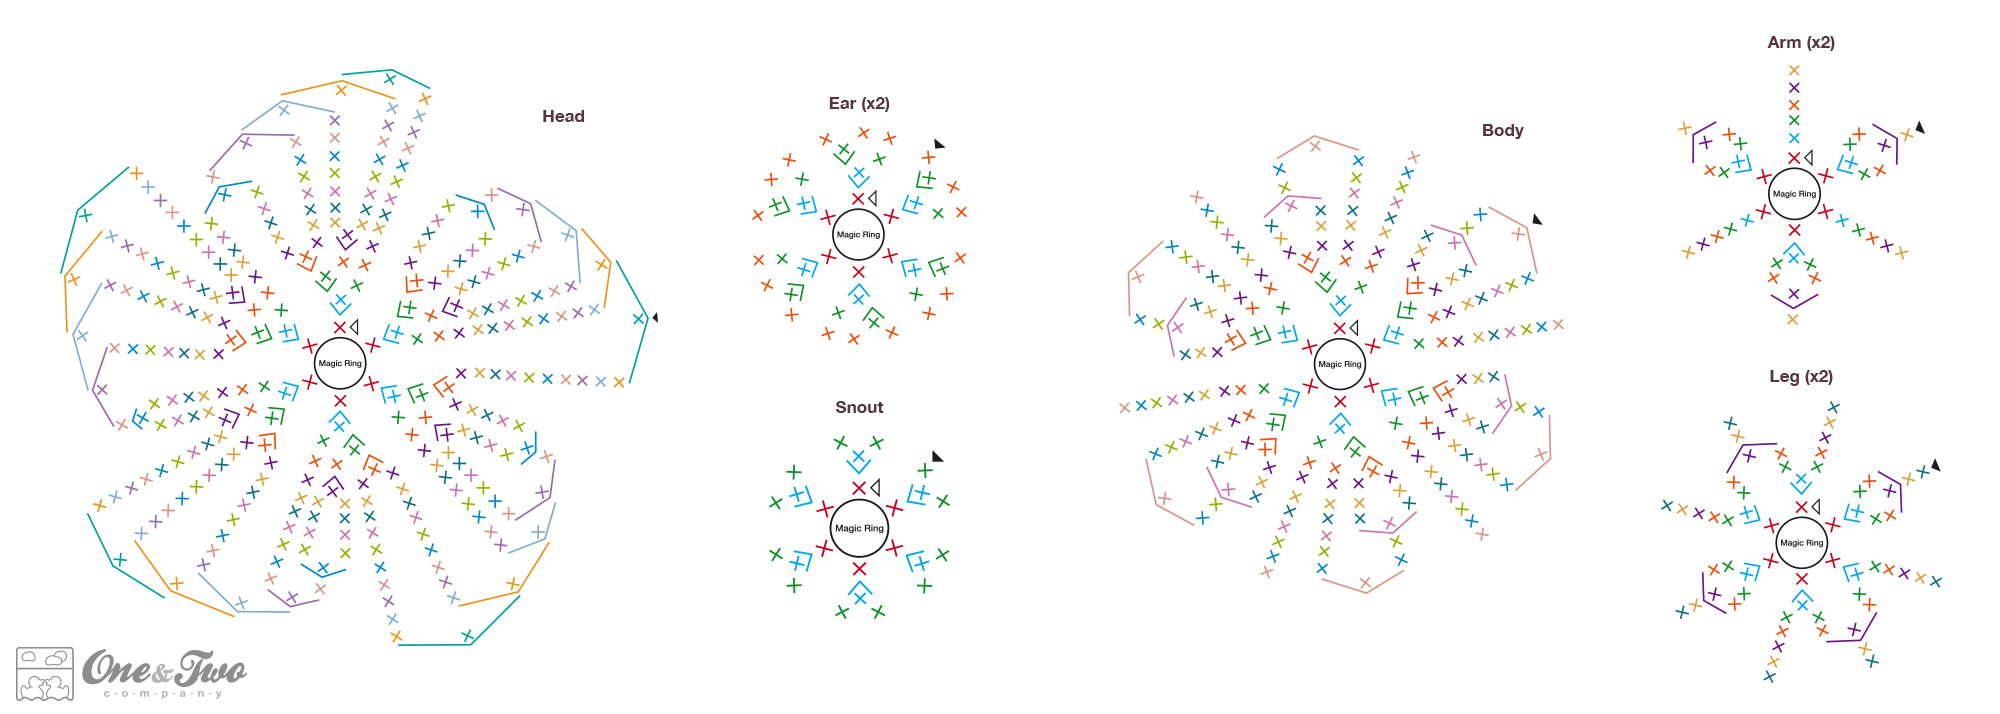
Symbols:
-

Start
-

End
-

chain
-

sc
-

2sc
-

sc2tog
-

hdc
-

dc
-

trc
-

sl st
-

New
Yarn
Images